Commissioned repaint of one of my magic cards, Thousand Year Elixir. Oil on primed hardboard, 12×16.
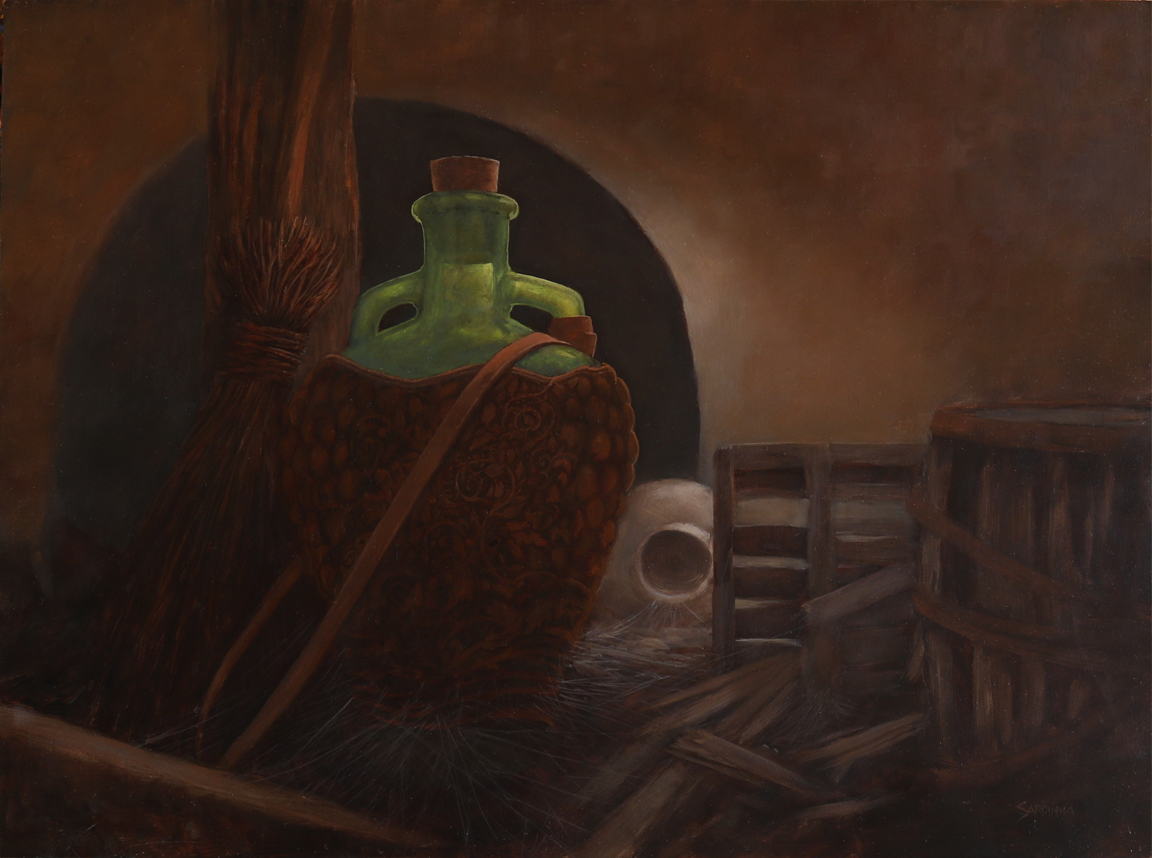
Commissioned repaint of one of my magic cards, Thousand Year Elixir. Oil on primed hardboard, 12×16.
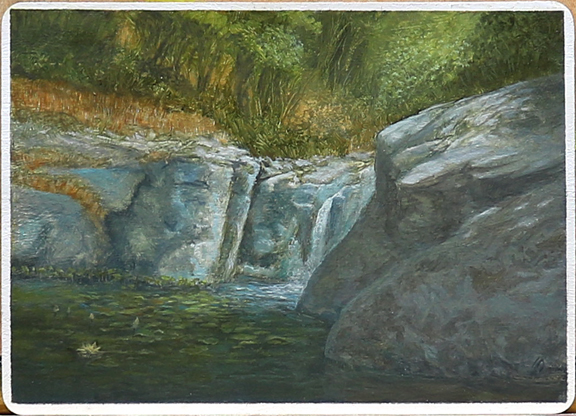
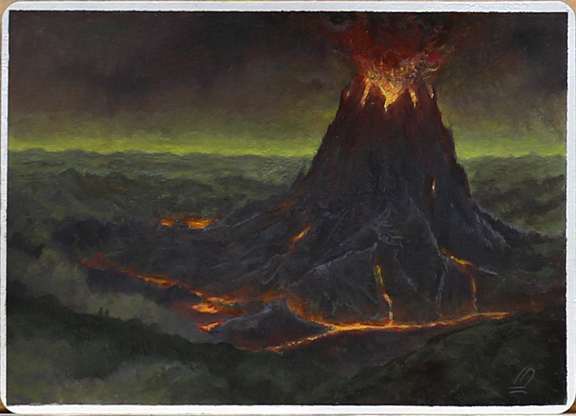
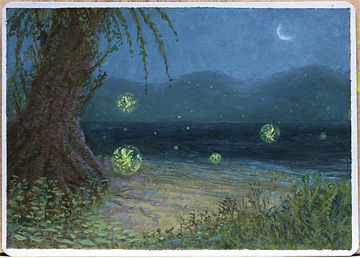
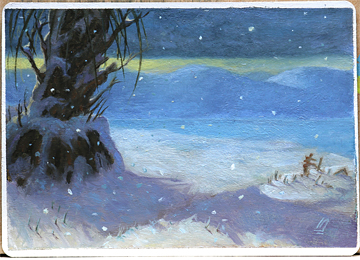
Two more miniature paintings completed on the back of primed magic card artist proofs. Old Man Willow is on the back of a Wisdom of the Land and Fae Pools is on the back of Dolmen Gate card. 2.5 x 3.5 inches.


Two miniature landscape commissions on the back of magic card proofs recently completed for some folks in France. oil on primed cardstock, 2.5 x 3.5 inches. Feel free to contact me if you are interested in one of your own!
Last year, I spent a bit of time painting a series of ten magic card size oil paintings. It was an experiment for my new found interest in miniature painting. These are done on the back of primed artists proofs I have from my work with Magic. This particular card was the mercurial kite and the size is 2.5 x 3.5 inches. They were well received and have all been disbursed to happy homes.


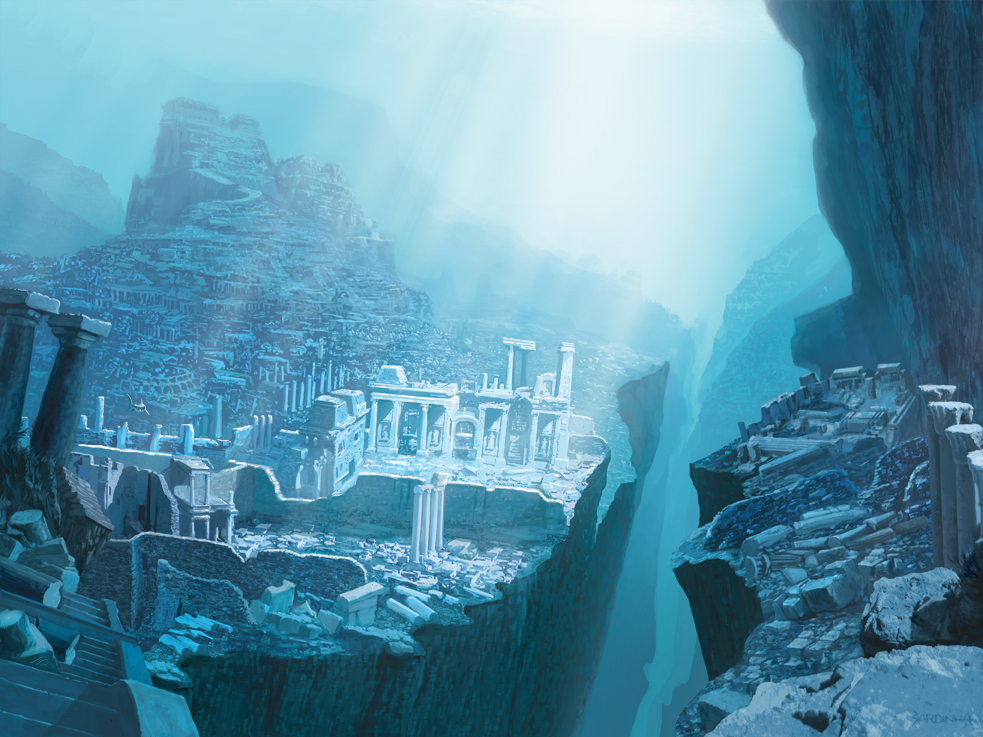
As of recent, I have been painting on the back of my magic card proofs. These four are a recent finished commission. Oil on primed magic card proof backs of thousand year elixir cards. Images are basically 2.5 x 3.5 inches.


Helping to spread cheer with some Calvin snowmen! Certainly not an original idea for execution but fun nonetheless.

This project actually began last year when I decided to learn how to make scale figures. Lot 249 is a short story by A.C. Doyle of Sherlock Holmes fame. It is a terrific yarn without any of the Universal monster foot draggers in it. This dead dude really moves! Anything that quick has got to give you chills.
In this blog, I am attempting to include the numerous things I did without any real reference to a specific technique of how things were accomplished. If there is something I can relate technique wise of how I went about something, feel free to drop me a line.
The figure came along easily enough, piecing things together onto a wire armature with polymer clay. Multiple bakings and variety of materials later, I ended up with a piece that made me smile.

It is 72mm, which is to say 1/24 scale. I experimented with several diorama layouts but was never really satisfied with the open nature of the format for this piece. Several months rolled by and the little running mummy sat on my bench shelf waiting. I had by now discovered boxed dioramas and really liked the idea of them. The box idea seemed similar to painting in that you controlled what the viewer saw which meant that you could also work the compositional aspect of it all. To boot, you could also light it for effect!
I settled on a small cigar box, I had laying around filled with old paint tubes. It had a slide lid and was already looking like an old packing crate that Egyptian relics might be shipped in.
The base is foam board cut to fit into the base of the box. A curved road for the mummy to run along was cut in. I wanted it to be moving into the countryside from the city so the scene became a place where the cobblestones run into a dirt path. Cobblestones were made from plaster in a silicone mold scaled out to 1/24. The main shapes of the trees are from branches of a dead rosemary plant from the garden. The “branches” are branches of sea foam.

I had made up a large batch of base color, in this case, a neutralized cerulean blue. As, the scene was at night, near everything was going to be washed with this color. About this time, I got the lighting portions of the project which are basically just model train supplies for buildings and such. I ran a test with two blue lights and one clear light, as a group, and the base wash color wash looked like it was going to work just fine.
The base and the trees were painted with brush and/or by dipping. Once dried, they were all pinned and glued into place. Grasses were made of heavy paper cut very fine with a scalpel. Vines and various scrub are fine roots threaded through the trees. It is a slow, meticulous process as much of what you are working with is dried and quite fragile, easily crushed and broken by ham-fisted types. I soon learned to work with tweezers.

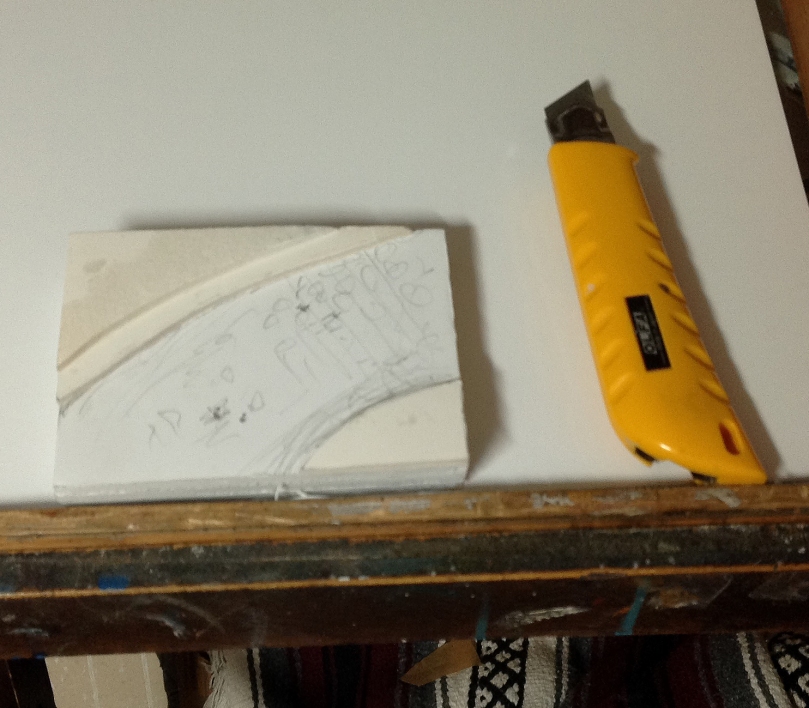
The flat area on the base facing you is a material called multi-media board. It is a pressed resin board. Completely archival, this stuff snaps like peanut brittle but is very amenable to sanding to shape and painting. It is actually an illustration substrate.
There is also a top flat area holds the electrics. A 9v battery set into a deeply hand carved notch is also supported by a velcro patch against its face. I was fairly paranoid about the battery loosening and then falling to destroy it all on its way down. So I made sure that was not going to happen. There are two hidden screws in the top that attach the electrics block to the box.

On the side facing the viewer, a painting of the moon at night was done with acryl gouache to help set the scene and mood.

The bottom flat surface was painted a dark blue black. In the future , I am looking to put a title plaque there.
I felt the right front corner was missing something so I began casting about. After some research, I ended up making a milestone based on a British milestone from the 1830’s. I made one from sculpey taking much of salient detailing from the reference, I carved back into the base and fitted it. A few blades of paper grass were added and a small paint job blended it all together again.


The inside surfaces with lettering was a bit of serendipity. My original intent was to paint fading scenery in perspective on the inside walls. After a lot of thought, I did not like the idea all that much and then thought of putting up pages of the story instead. That would be a nice visual break and would lend an extra layer of depth to the scene. I went online and found a pdf of an 1892 Harper’s magazine that had the story. It had been scanned in high resolution complete with a number of very cool illustrations from the period. This was the best! The original font from the time, in the scene. Yes! Pages were printed and glued to the pre-fitted multi-media board.
I needed planks to dress the cigar box out so it looked like a crate. A hastily sketched plan showed that I needed 22 planks of varying lengths under 7 inches in length. The thickness was to be 3/16″. I ripped them up on my table saw out of some 3/4 inch pine stock that was lying about from other projects. These were glued on. The planks between the larger boards are made of multi media board. I took an 8×10 sheet of multi-media board and painted to look like an old gray plank.
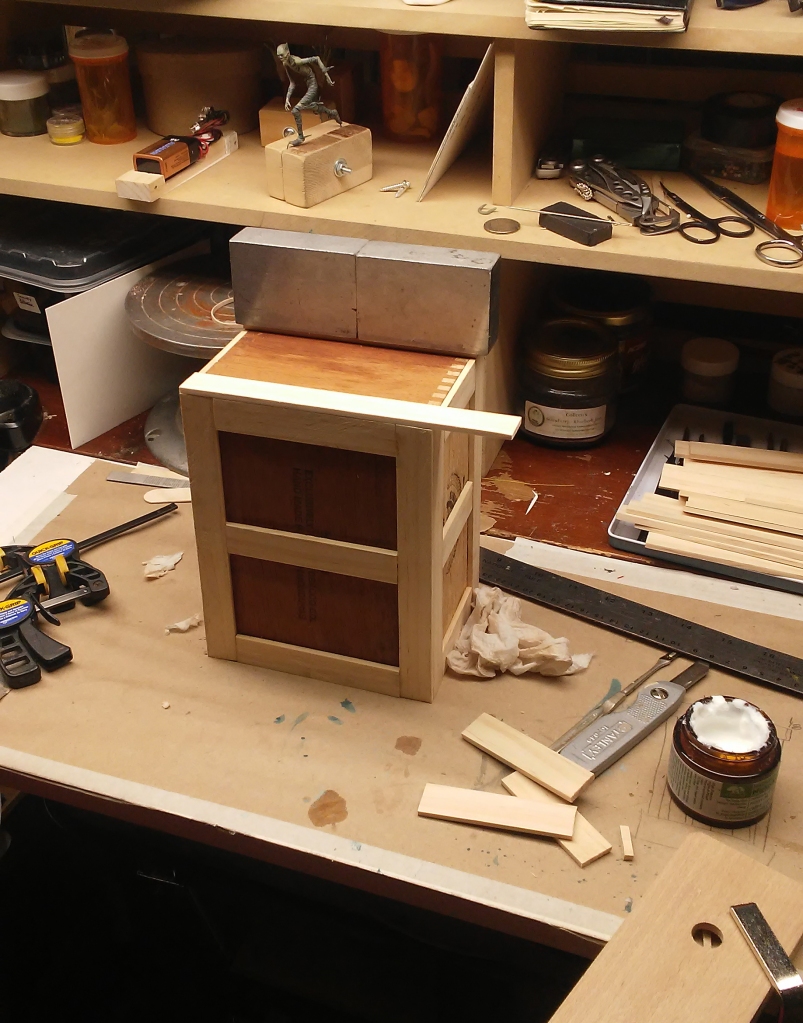

Once it dried, it was cut into approximate 1/2 inch strips and fitted individually, one at a time. After a bit, all the little planks were finally glued down. Everything was then painted with several thin layers of a neutralized gray blue on the light side. Nails were created with a small leather punch. Overall distressing of the crate was next. Scratching into the planks, striking with various objects to create dents and cracking the ends of the boards to simulate the damage from bad nailing technique. Nail heads were painted then, some heads being painted to simulate rust. Hand cut paper stencils for the box lettering performed admirably but dissolved quickly after the second daubing application of paint. Lotus design on lid was hand painted then faded a fair amount.


Suddenly there were no more tweaks to do, nothing left to create. All along the way, the parts were continuously dry fitted to be sure of no problems. Everything went together in under five minutes.

I learned a lot and looking forward to my next boxed diorama.
I recently joined the IGMA, International Guild of Miniature Artisans. It will be two years before I can even apply for artisan membership, so i might as well get started. Oil on 100 percent cotton. 2.5 x 3 3/8 inches .

Recent artwork for upcoming video game, Alpha Bubble Challenge.